Fix Big Nose in Photoshop
to day we want to change hair color in adobe photoshop .you can change any hair color whit this trick . in this tutorial we use saturation option . you can download image links in description blow
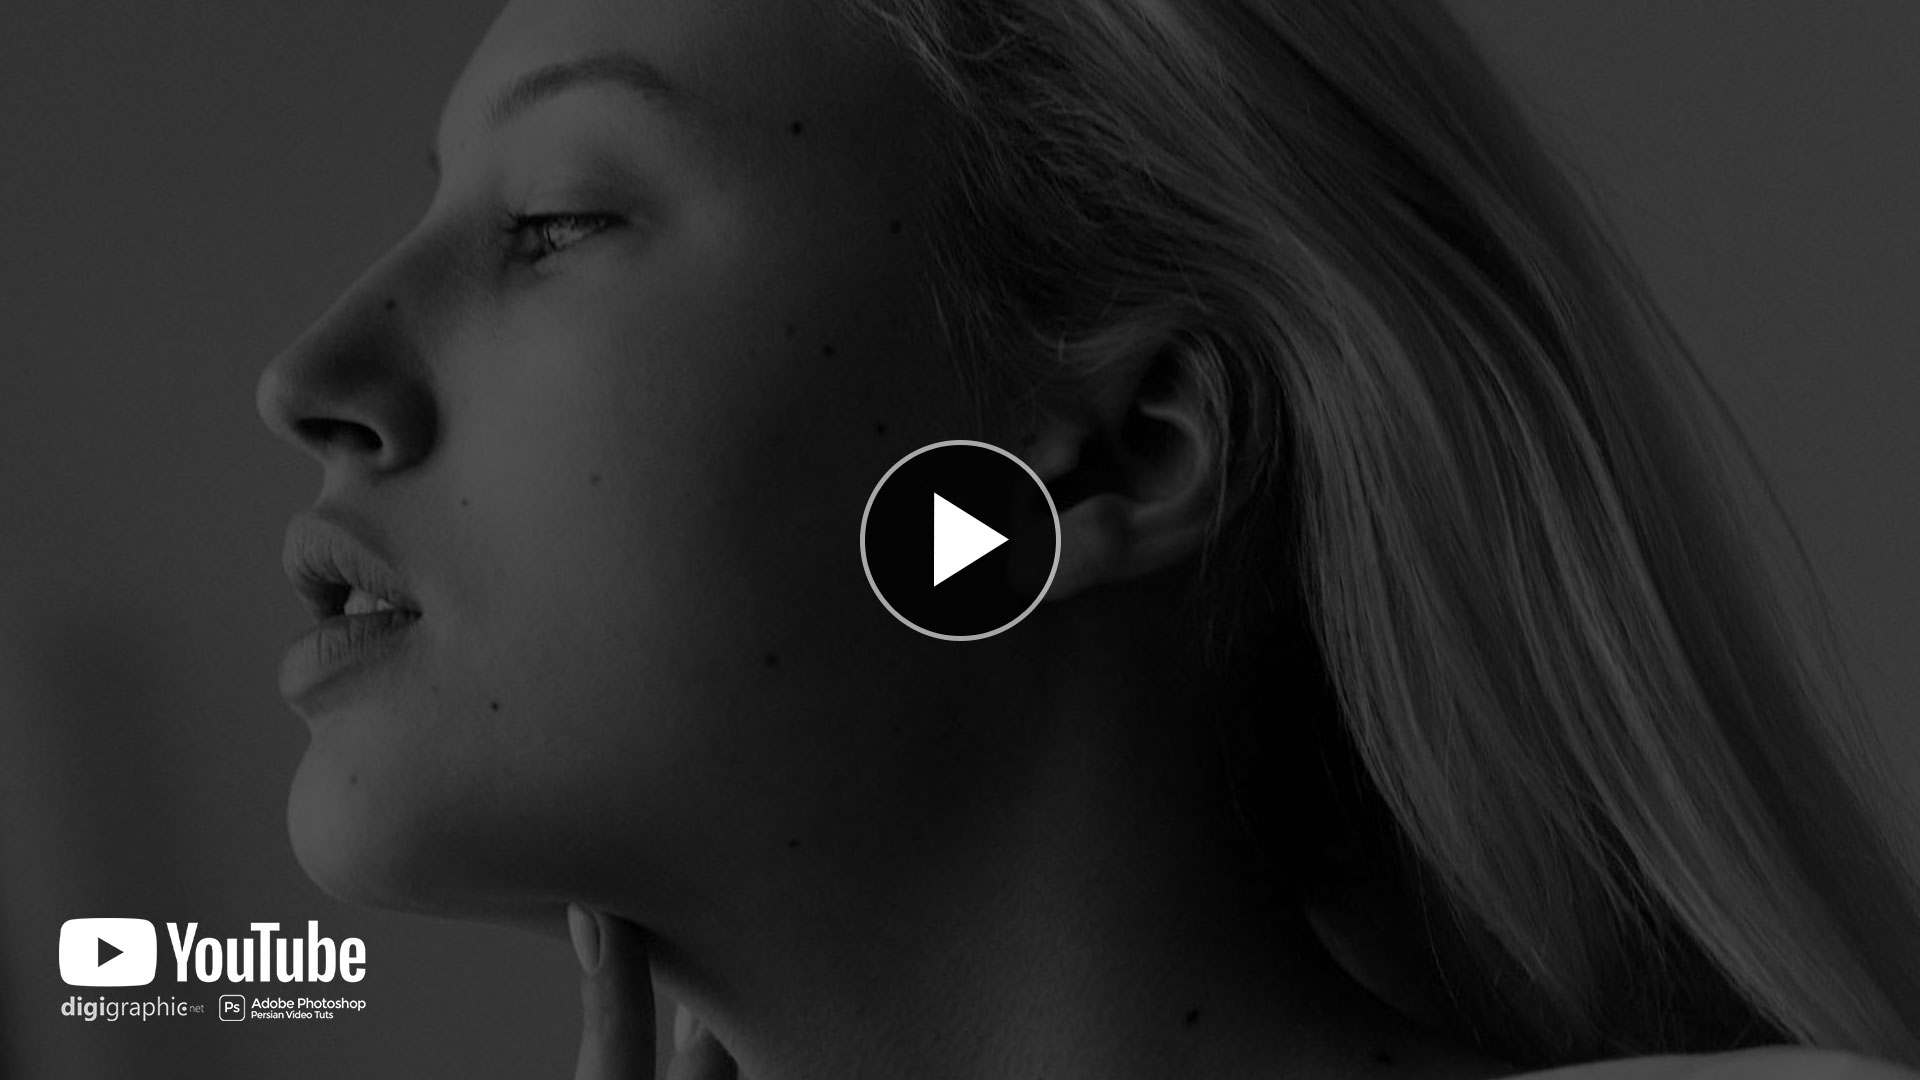
The nose, prominently situated at the center of our face, often draws significant attention in our appearance. For those who are curious about how they might look with a different nose shape but are hesitant about plastic surgery, Photoshop offers a practical solution. This guide will delve into the specifics of using Photoshop’s liquify feature to edit the nose in a photograph. This process is not only useful for personal curiosity but also a valuable skill for digital artists and photographers.
Fix Big Nose in Photoshop ?
Photoshop, a powerhouse in the realm of digital image editing, provides a range of tools that can simulate physical alterations without the need for actual changes to the body. This is especially useful for those who want to visualize a different appearance or for professionals who need to create varied looks for clients or projects.
DOWNLOAD
Preparing Your Image
- Choosing the Right Image: Selecting an image with a white background can simplify the editing process. However, this technique is also applicable to images with full backgrounds.
- Opening Your Image: Launch Photoshop and open the image you wish to edit.
Creating a Workable Copy
- Copying the Image: Press Ctrl + J to create a duplicate layer of the original image. This step is crucial for preserving the original photo.
- Converting to a Smart Object: Right-click on the new layer and select ‘Convert to Smart Object‘. This allows for non-destructive editing, meaning you can revert changes if necessary.
Using the Liquify Tool
- Navigate to ‘Filter’ and then select ‘Liquify’.
- A new window will pop up with your image and various tool options.
- The tools on the left side of the Liquify window are your main editing tools, each serving different purposes.
- Use a smaller brush for more precise edits on the nose. Adjust the brush size under the ‘Brush Tool’ options.
- Use the brush to gently drag and sculpt the nose. Small, subtle movements are key to natural-looking results.
- Toggle the preview option on and off to compare the edited version with the original.
Finalizing the Edit
- Applying the Changes: Once satisfied, click ‘OK’ to apply the changes to your smart object layer.
- Reverting If Necessary: If you need to revert to the original state, you can easily do so by canceling the liquify effect on the smart object.
Conclusion
Through this guide, you’ve learned how to effectively use Photoshop to edit the nose in a photograph. Remember, practice makes perfect. Your skill in using these tools will improve over time, allowing for more refined and natural-looking adjustments.

Leave a Reply
Want to join the discussion?Feel free to contribute!